
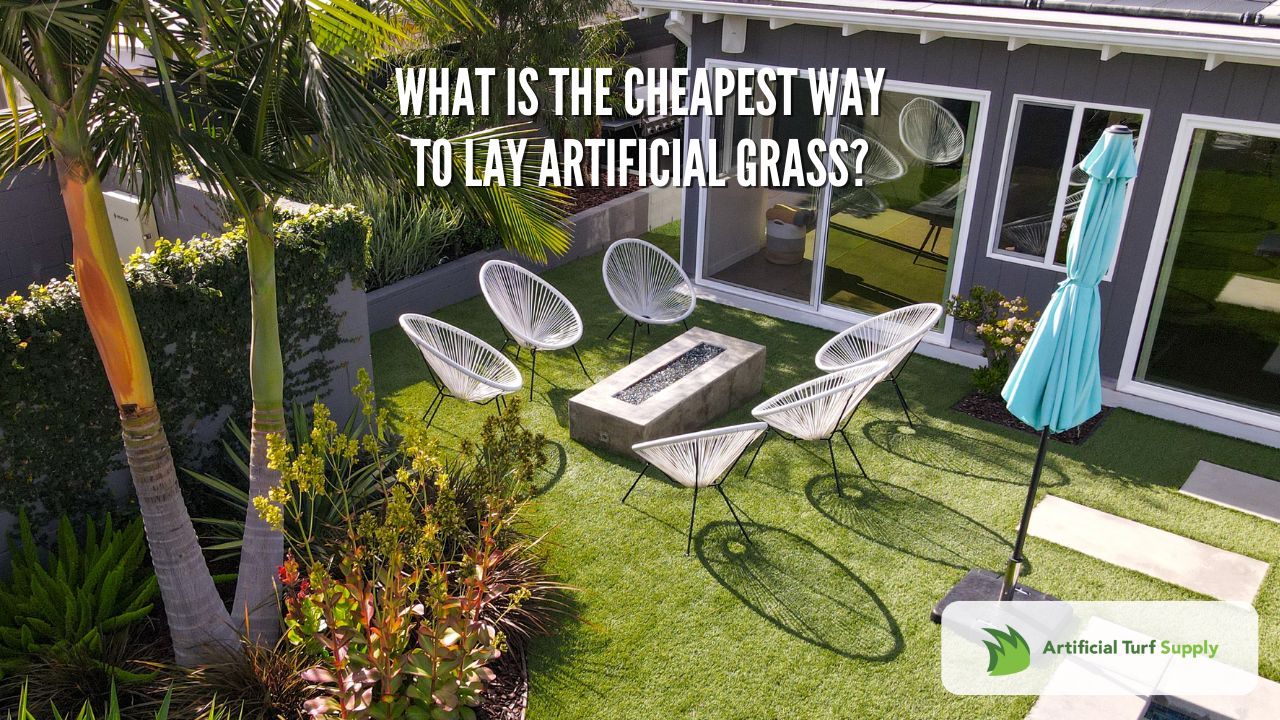
“What is the cheapest way to lay artificial grass?” is an important question that’s been around… well, pretty much as long as synthetic turf has been a thing. Installing high-quality artificial grass is always a big project. And it has many, many layers of complexity, options, and steps. Maybe you’re just now deciding between self-installing or calling in the professionals. Or maybe you’ve already decided you want to save some cash, roll up your sleeves, and DIY this whole thing. Either way, here’s what you need to know, so you can budget correctly.
Here’s What We’ll Cover Today
-
- Proper planning and DIY installation can save you big bucks
- Choosing the right type of turf is crucial for cost and quality
- Preparing the ground correctly is key to avoiding expensive mistakes
- Infilling and maintenance help your artificial grass last for years
Planning and Measuring the Area
Let’s start by avoiding any “Ready. Fire. Aim” mishaps. So step 1 is definitely planning. I remember back when I first started installing artificial grass. I’m not going to lie. I was pretty proud of my DIY chops (okay, I still am). I thought I could just eyeball it. Nope! My unplanned, wonky, uneven mess looked like a toddler’s face after eating spaghetti. The old craftsman’s wisdom is critical here: measure twice, install once.
Proper planning and measuring is the foundation of any successful artificial grass installation, especially if you’re trying to keep costs down. Take the time to carefully measure your space. Calculate your square footage. Overbuying wastes money. Underbuying wastes time and energy.
DIY vs. Professional Installation
Pros of DIY Installation:
-
-
- Significantly reduces overall cost
- Allows for greater control over the project
- Provides a sense of accomplishment and satisfaction
-
Cons of DIY Installation:
-
-
- Requires significant time and effort
- Demands physical labor and specific skills
- Potential for mistakes or improper installation
- May void product warranty
-
Pros of Professional Installation:
-
-
- Ensures proper installation techniques are followed
- Saves time and physical labor
- Often includes product warranty
- Results in a polished, professional appearance
-
Cons of Professional Installation:
-
-
- Significantly more expensive than DIY
- Less control over the project timeline and materials used
- May be challenging to find a reputable, affordable installer
-
Selecting the Right Type of Artificial Grass
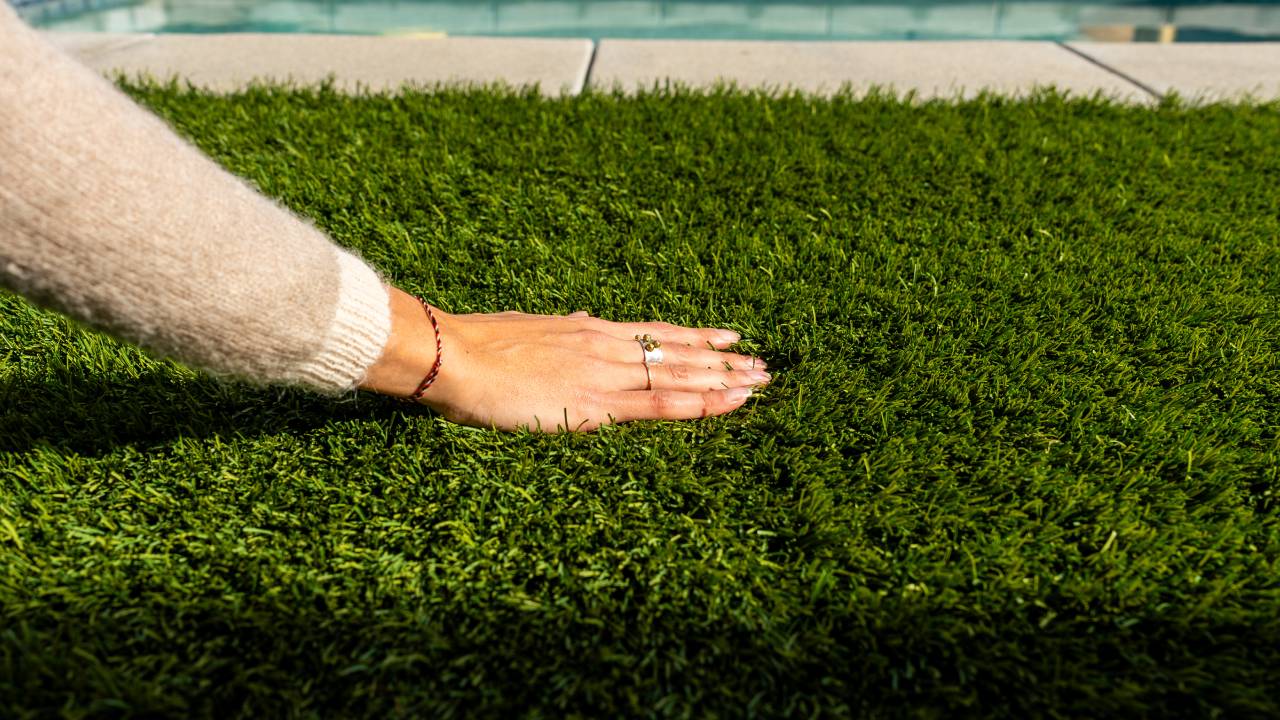
Not all artificial grass is created equal. Choosing the right type of turf for your needs and budget is crucial. Our goal with this article is learning the cheapest way to lay artificial turf. So you’ll be tempted to go with the cheapest option. Hit pause. You usually get what you pay for, right? The cheapest turf material often looks fake, feels prickly and rough, and will fall apart super fast.
One great approach to consider is going with lower pile height artificial grass. These are often cheaper while still providing that natural aesthetic you want. Whichever direction you go, look for a reputable brand. Experienced synthetic turf professionals can offer you options with a good balance of affordability and durability. Trust me, you’ll be glad you did when your grass still looks fabulous five years down the line.
The good people at Artificial Turf Supply have been installing high-quality grass since 2005. Whether you end up using them for supplies, installation, or as an informational resource, you should give them a call.
Using Artificial Grass Remnants
You can find examples of people using artificial grass remnants for their turf. Sometimes, this can be the cheapest way to lay artificial grass. In my experience, it can be very difficult to find enough to fill your desired outdoor space. It can also be difficult to find enough with a consistent feel for the look you want. Reclaimed turf can be a real grab bag. I’ve seen a few good examples. I’ve seen a lot more bad results, though.
Pros of Using Artificial Grass Remnants:
-
-
- Significantly lower cost compared to full rolls
- Allows for smaller installation areas to be completed on a budget
- Reduces waste by utilizing leftover pieces from larger projects
-
Cons of Using Artificial Grass Remnants:
-
-
- Limited selection and availability
- Potential for color and texture variations between pieces
- May require more seaming and cutting for a cohesive appearance
- Suitable only for smaller installation areas
-
Learn more: Artificial Grass Remnants
Preparing the Ground for Installation
You’ve measured your space. You’ve picked your turf. It’s time to get get down and dirty with ground preparation. The DIYers among you are going to be tempted to cut corners here. Trust me, skimping here will come back to haunt you. If you don’t prepare your ground thoroughly, weeds will pop right through. You do NOT want this look.
One of the cheapest ways to lay artificial grass is to prepare the area properly before installation. Remove the existing vegetation and ensure a level surface. This will involve some elbow grease, but it’s worth it in the long run. A little sweat equity now can save you a lot of headaches (and cash) later.
Clearing and leveling the surface is crucial for a smooth, professional-looking installation. Take the time to remove any existing grass, weeds, or debris. Then, use a level to ensure the surface is even. Fill any low spots with sand or soil. Trust me, your future self will thank you when you’re lounging on your perfectly flat artificial lawn.
Installing a Weed Barrier
Here’s some quick, easy math. Weeds = bad. So you need weed barriers. I know, I know – it’s tempting to skip this step and save a few bucks. But take it from someone who learned the hard way – a weed barrier is your best friend when it comes to maintaining a pristine artificial lawn. On that first turf attempt I talked about earlier, I thought I could just lay the turf directly on the soil. My turf turned out to be dandelion city in weeks. Not the look I was going for.
Invest in a high-quality weed barrier and take the time to install it properly. Prevent weeds now and save yourself the hassle (and expense) of constantly battling them down the line.
Adding a Base Layer
The base layer is your next big step. This is where you can really get creative with cost-saving measures. Some folks like to use a full concrete base, but that can get pricey fast. I’ve found that a compacted base of crushed rock or gravel can be a cost-effective alternative.
I’ve seen some turf installers get thrifty and use some leftover gravel from a landscaping project. It worked like a charm! Just be sure to compact it well to create a stable foundation for your turf.
Securing the Edges and Seams
You need to secure the edges and seams of your artificial grass. Here we have another potential pitfall for you dedicated DIYers. Saving a few bucks by using cheap stakes and skimping on the seaming tape seem smart. Big mistake! Having your edges curl up like a bad perm is rough. So is seeing those seams show up like a neon sign.
Invest in high-quality stakes and seaming tape, and take the time to properly secure the edges and seams. In my experience, being precise with the amount of adhesive I use has saved me around 15% on those costs. Every little bit of saving adds up on a project this big. And this little extra effort goes a long way towards getting that seamless, professional-looking finish.
Laying and Securing the Artificial Grass
Now it’s time for the main event – laying and securing the artificial grass. This is where the magic happens, folks! If this is your first time, please know that you’re HIGHLY unlikely to just unroll the turf and call it a day. You’ll get a wrinkled, bunched-up mess.
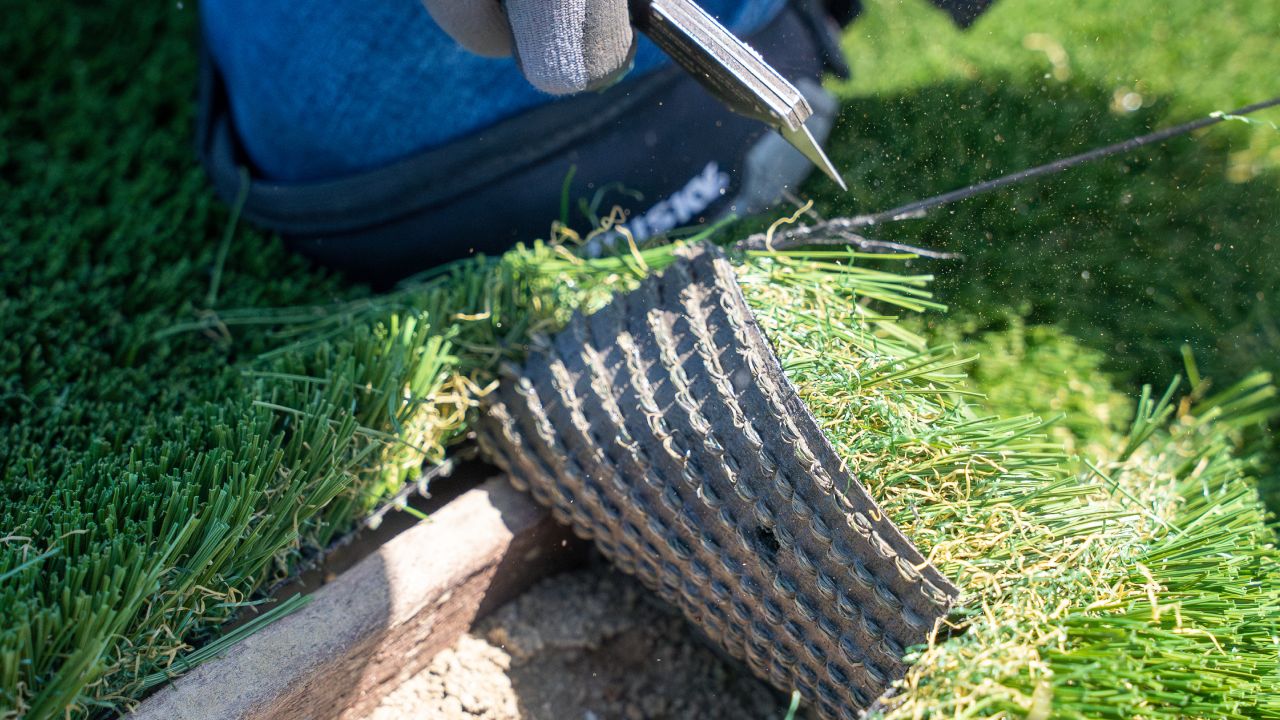
Take your time. Follow the manufacturer’s instructions carefully. Use a sharp utility knife to trim the edges, and make sure the turf is stretched taut before securing it. If you’re installing multiple pieces, make sure the seams are lined up perfectly. Trust me, a little extra attention to detail here will make all the difference in the final product.
Infilling and Brushing the Grass
Boom! Your artificial grass is installed. Chef’s kiss! But you still need some finishing touches – infilling and brushing. This is where you can really make your lawn look like a million bucks (hopefully without spending that much).
Use a high-quality infill material like silica sand or crumb rubber. Take the time to spread it evenly. Then, use a power broom or stiff-bristled brush to work the infill into the turf fibers. This helps the grass stand up straight for a more natural look and feel. Trust me, your elbow grease will make a world of difference in the final appearance of your lawn.
Maintenance Tips to Keep the Grass Looking Fresh
Congratulations! You’ve installed a beautiful, budget-friendly artificial lawn. Your landscape looks amazing and your neighbors are surely jealous. But keep in mind that keeping that amazing-looking, neighbor-attracting turf requires upkeep. Proper maintenance is key to keeping your grass looking fresh for years to come.
- Regularly remove debris, like leaves and twigs, with a leaf blower or rake.
- If you have pets, be sure to clean up after them promptly.
- Occasionally rinse the turf with a hose to remove dust and keep the fibers looking vibrant.
These simple maintenance tips will keep your artificial lawn looking like new without breaking the bank.
The Bottom Line
I’ve always preferred the term “thrifty”, but you can’t argue with the value of finding the cheapest way to lay artificial grass. And now you know how to prepare, choose, and lay turf like a pro. You may still have questions, though. Or you may be ready to get a quote. The Artificial Turf Supply team is just a call away at (866) 677-9405. Your best-looking, low-maintenance landscape is waiting for you!
Learn more at our “How To Center.”
Get a free quote for your project today!